If you haven’t done so yet, please set up your local development environment first.
We will cover the four stages of Cloud Application Model development: Define, Implement, Run, Consume.
Create a new project
Open a new Terminal and navigate to your desired development folder.
Execute the below command to create a new CAP project named helloworld:
cds init helloworld
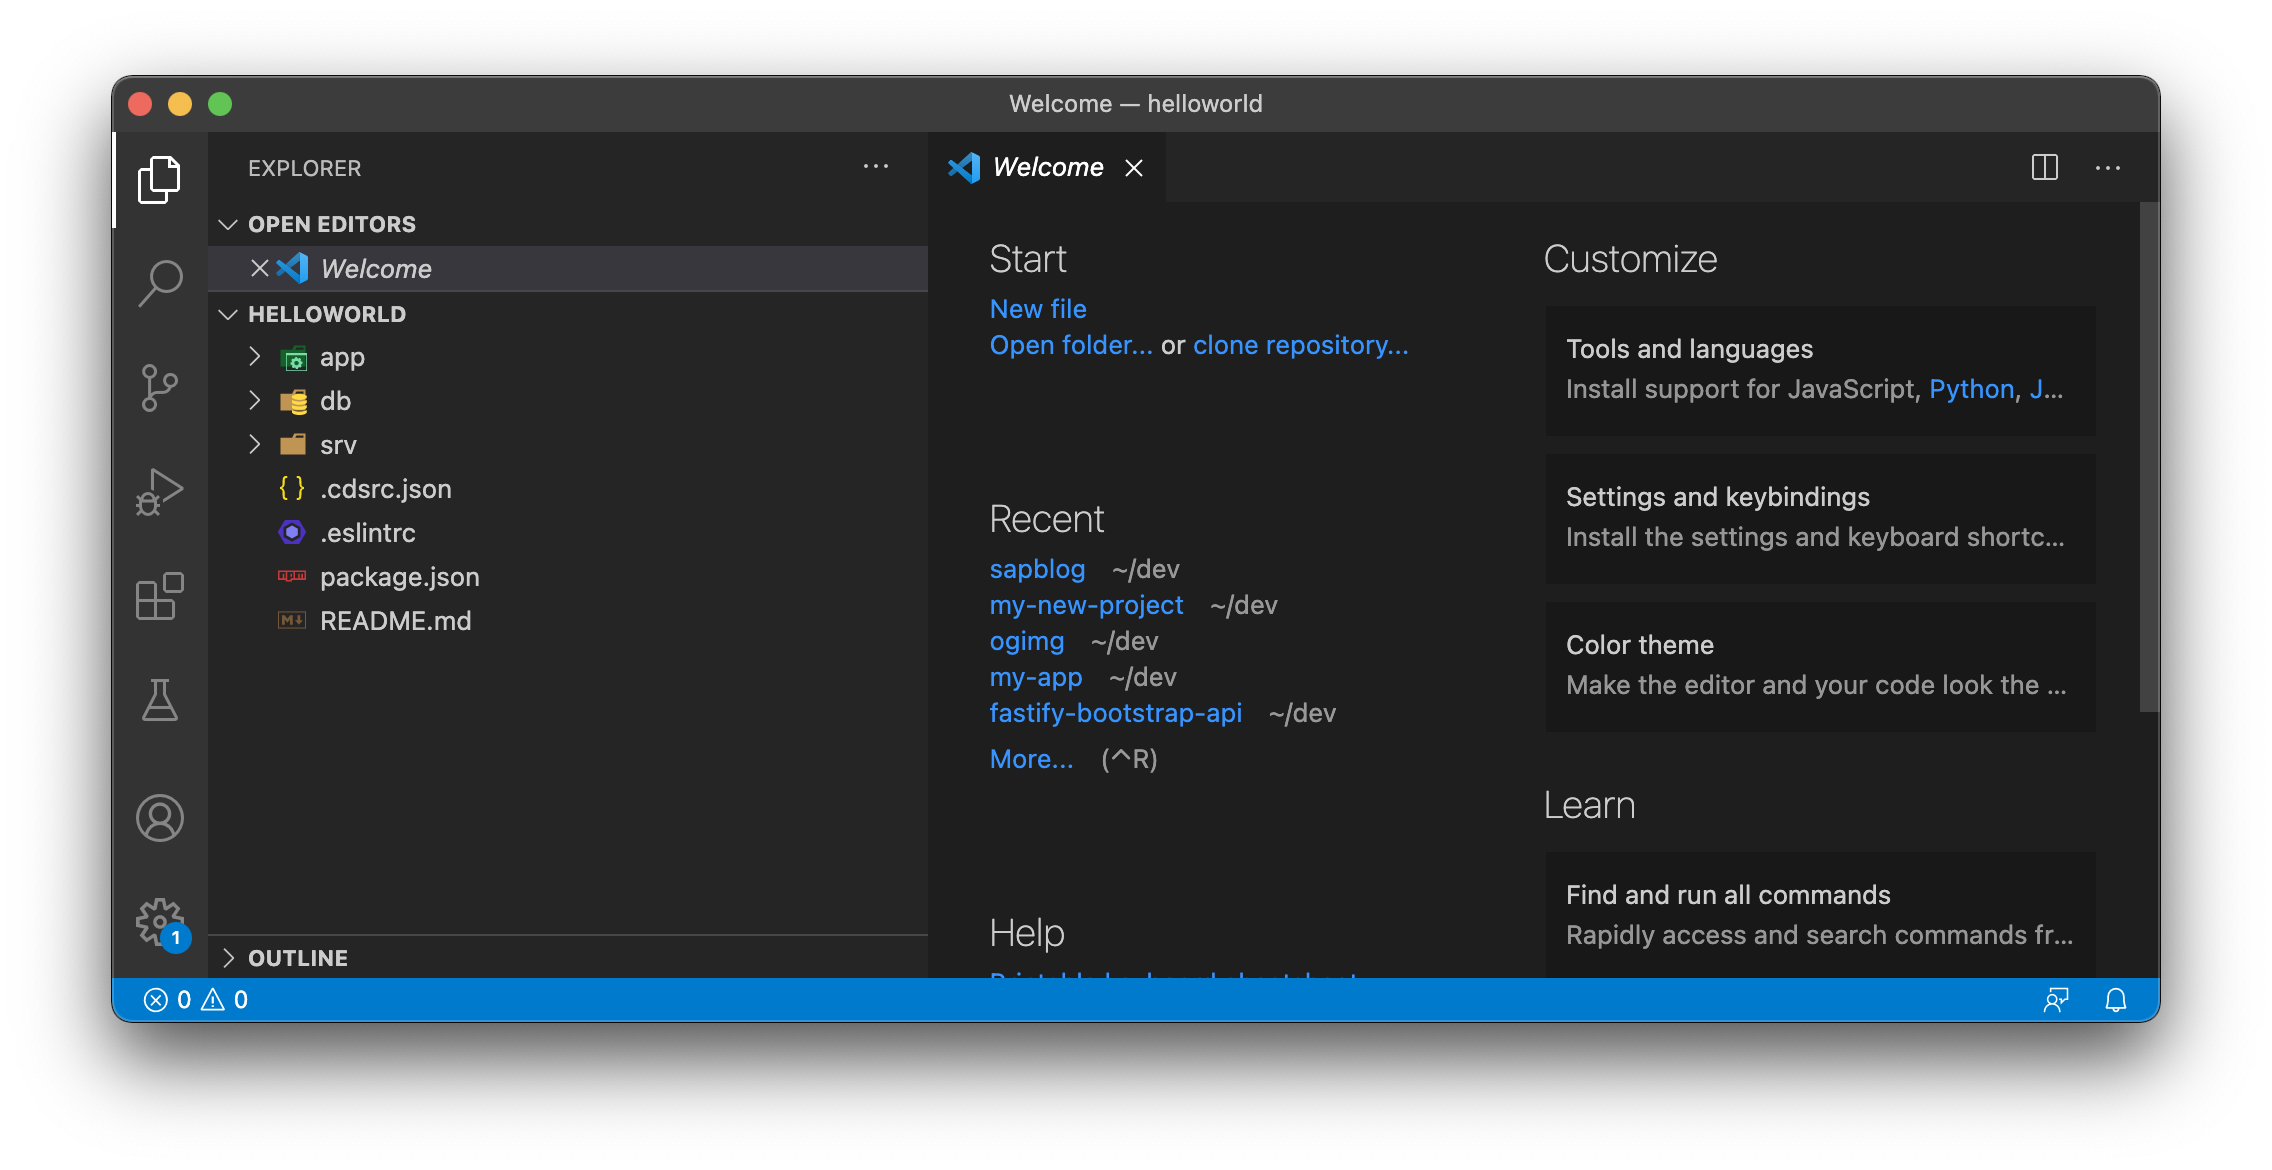
Once done, navigate to the helloworld folder and open the project in VSCode.
cd helloworld
code .
Define
Inside the src folder create a new file called say.cds, content:
service say {
    function hello (to:String) returns String;
}
This defines a service called say with a function named hello. The function has an import parameter called to of type String and returns a String as well.
Implement
Next we need to implement the service. Create a second file called say.js in the srv folder. Copy and paste below code
module.exports = (say) => {
    say.on('hello', req => `Hello ${req.data.to}!`)
}
Run
Switch back to your Terminal window.
Run the service by executing cds run in your project folder.
% cds run

[cds] - model loaded from 1 file(s):

  srv/say.cds

[cds] - serving say { at: '/say' }

[cds] - launched in: 299.389ms
[cds] - server listening on { url: 'http://localhost:4004' }
[ terminate with ^C ]
If there are no errors you should see that the server is listening on localhost:4004, running our say service.
Consume
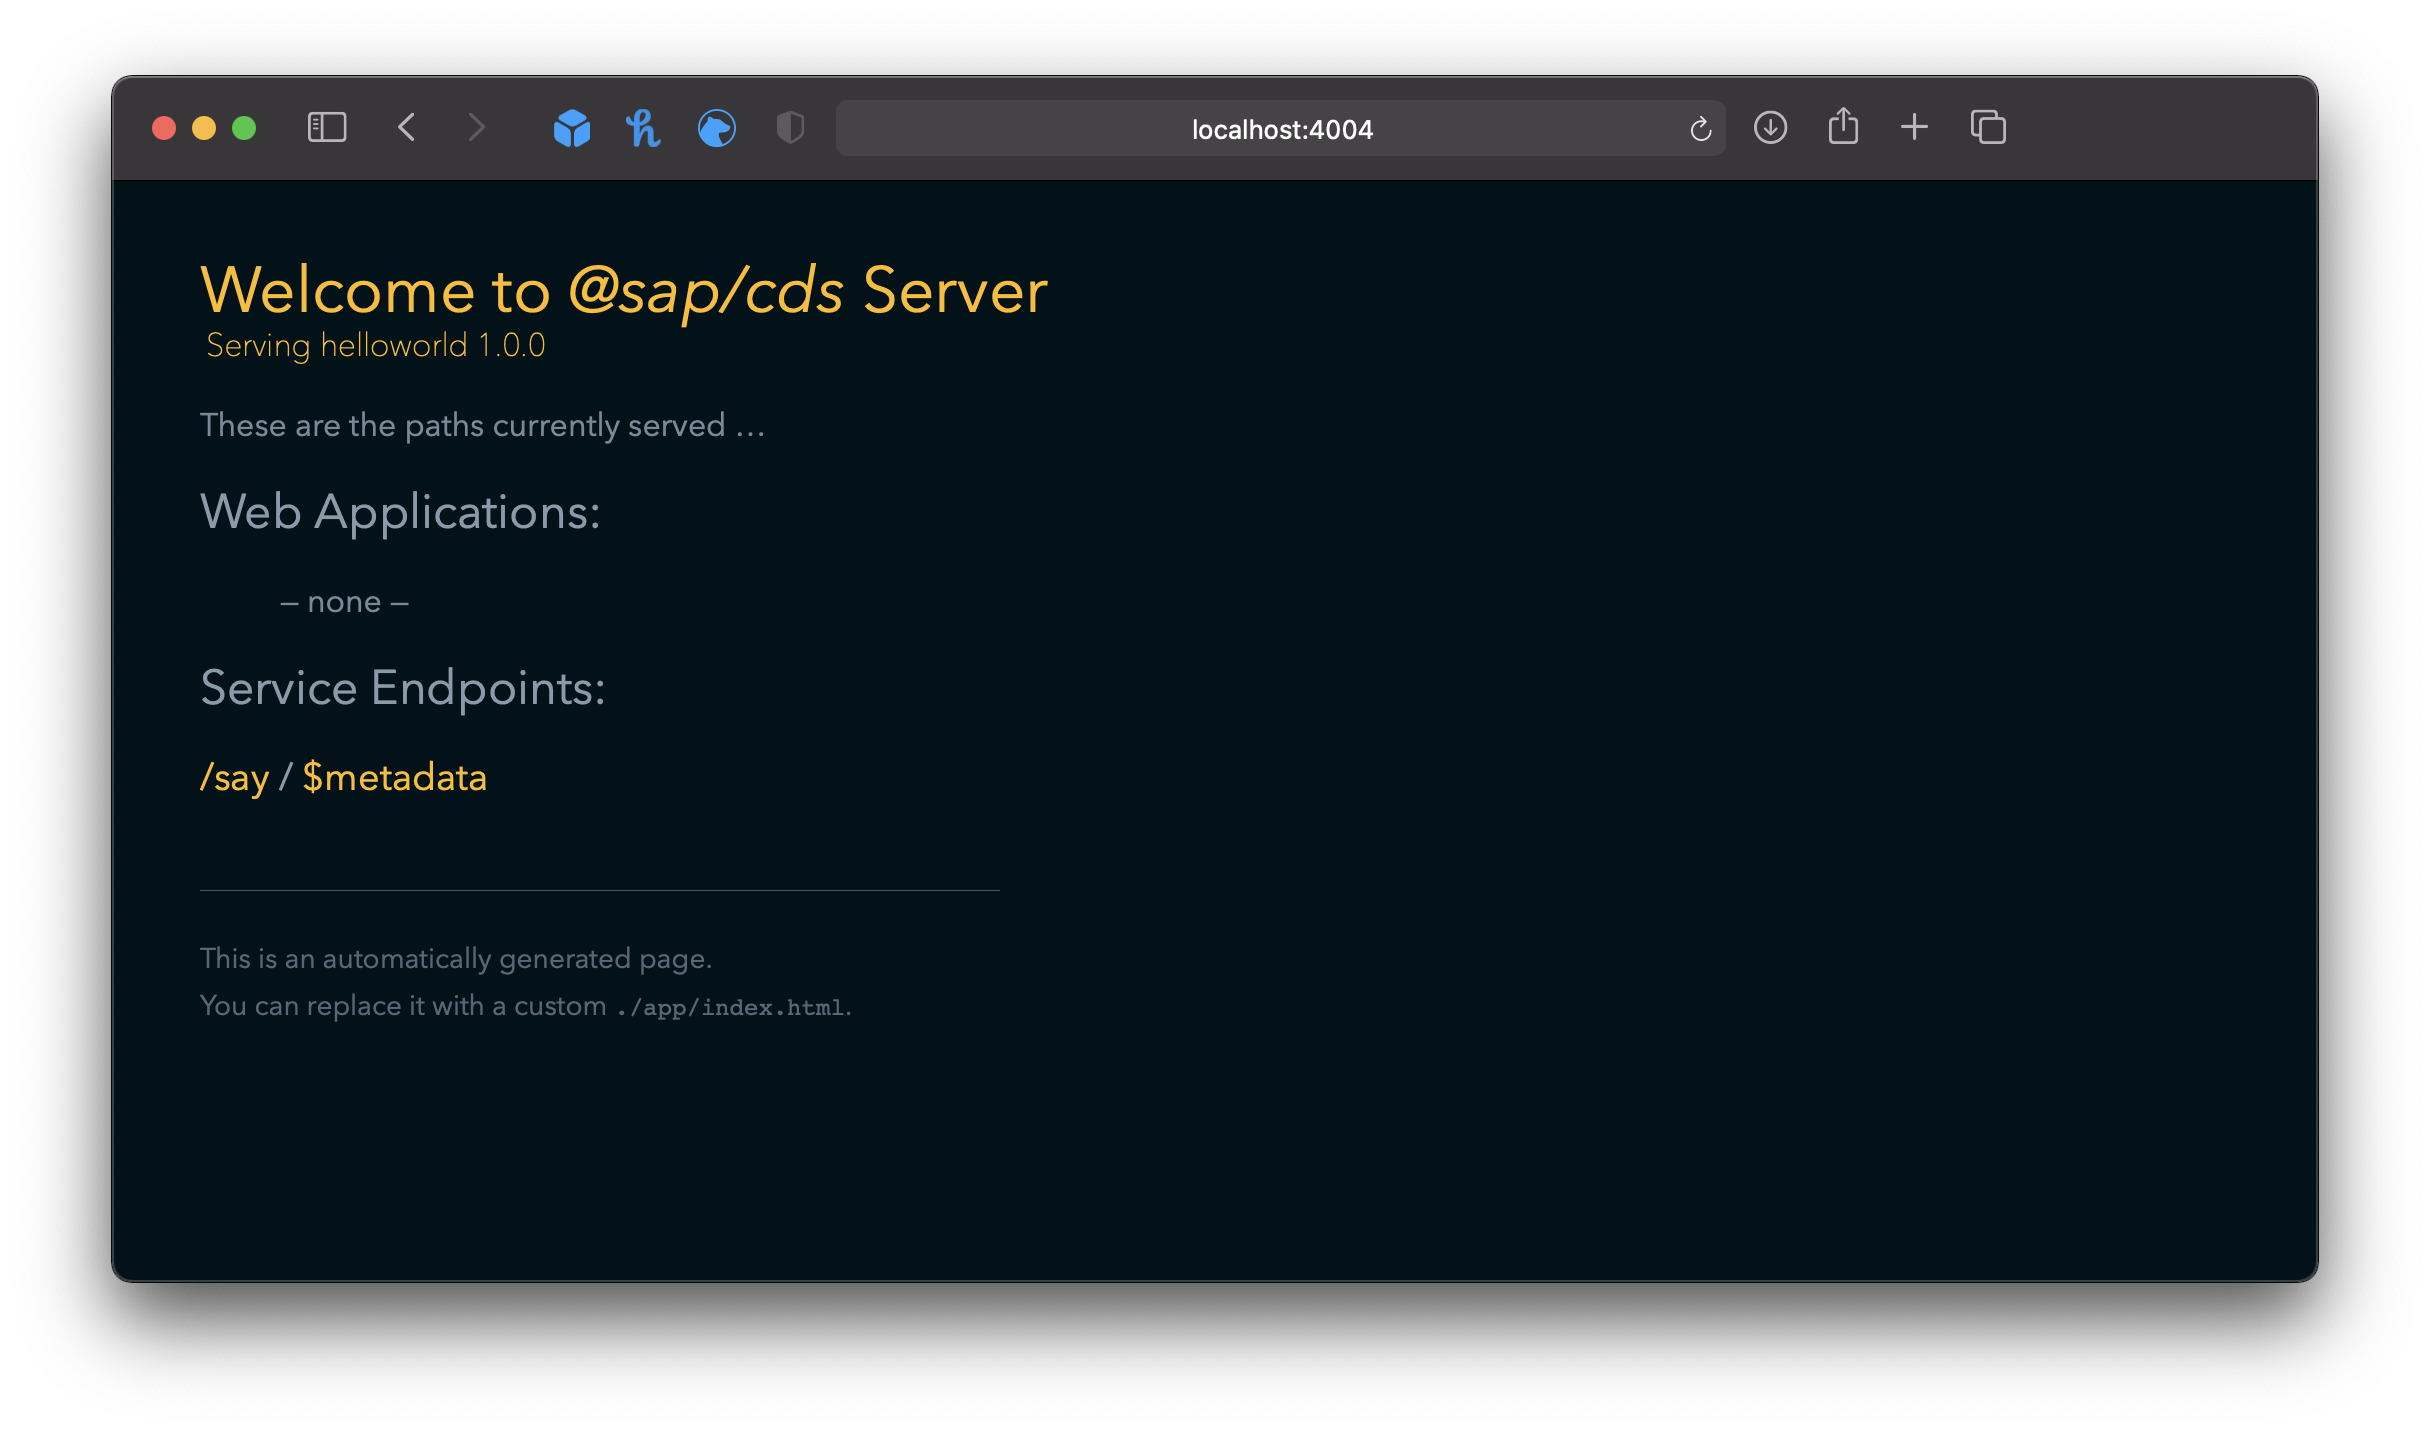
Open up a browser and navigate to http://localhost:4004.
You can see that our function is available under /say and that the $metadata for this service got generated as well.
To consume the function open http://localhost:4004/say/hello(to='World') in your browser. As a result, you will get a JSON response with the expected value Hello World!.
